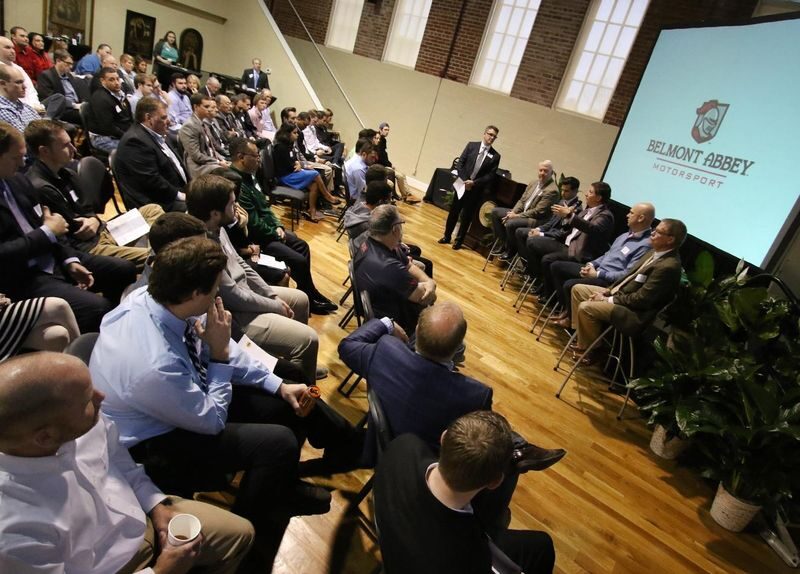

Most petrol-heads are probably asking right about now, “What’s a block of wood with 4 wheels have to do with Motorsports?” Actually, everything.
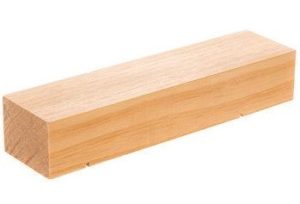
Picture it… a week before race day and your better-half presents you with an unassuming block of wood (as seen above), some wheels, screws and a set of rules. What am I supposed to do with this? – You ask. “You’re going to work with your daughter and make a race car?” …Excuse me, what?!?. “Just follow the rules… should be easy” Easy, eh… When is the race? “Oh yea… next weekend.” Thanks (said with a metric ton of sarcasm). Full disclosure, up until this point, I’d never actually built a derby car – or been a scout of any kind – so this was uncharted territory, but I would soon come to find out, our story’s beginning was not an uncommon one.
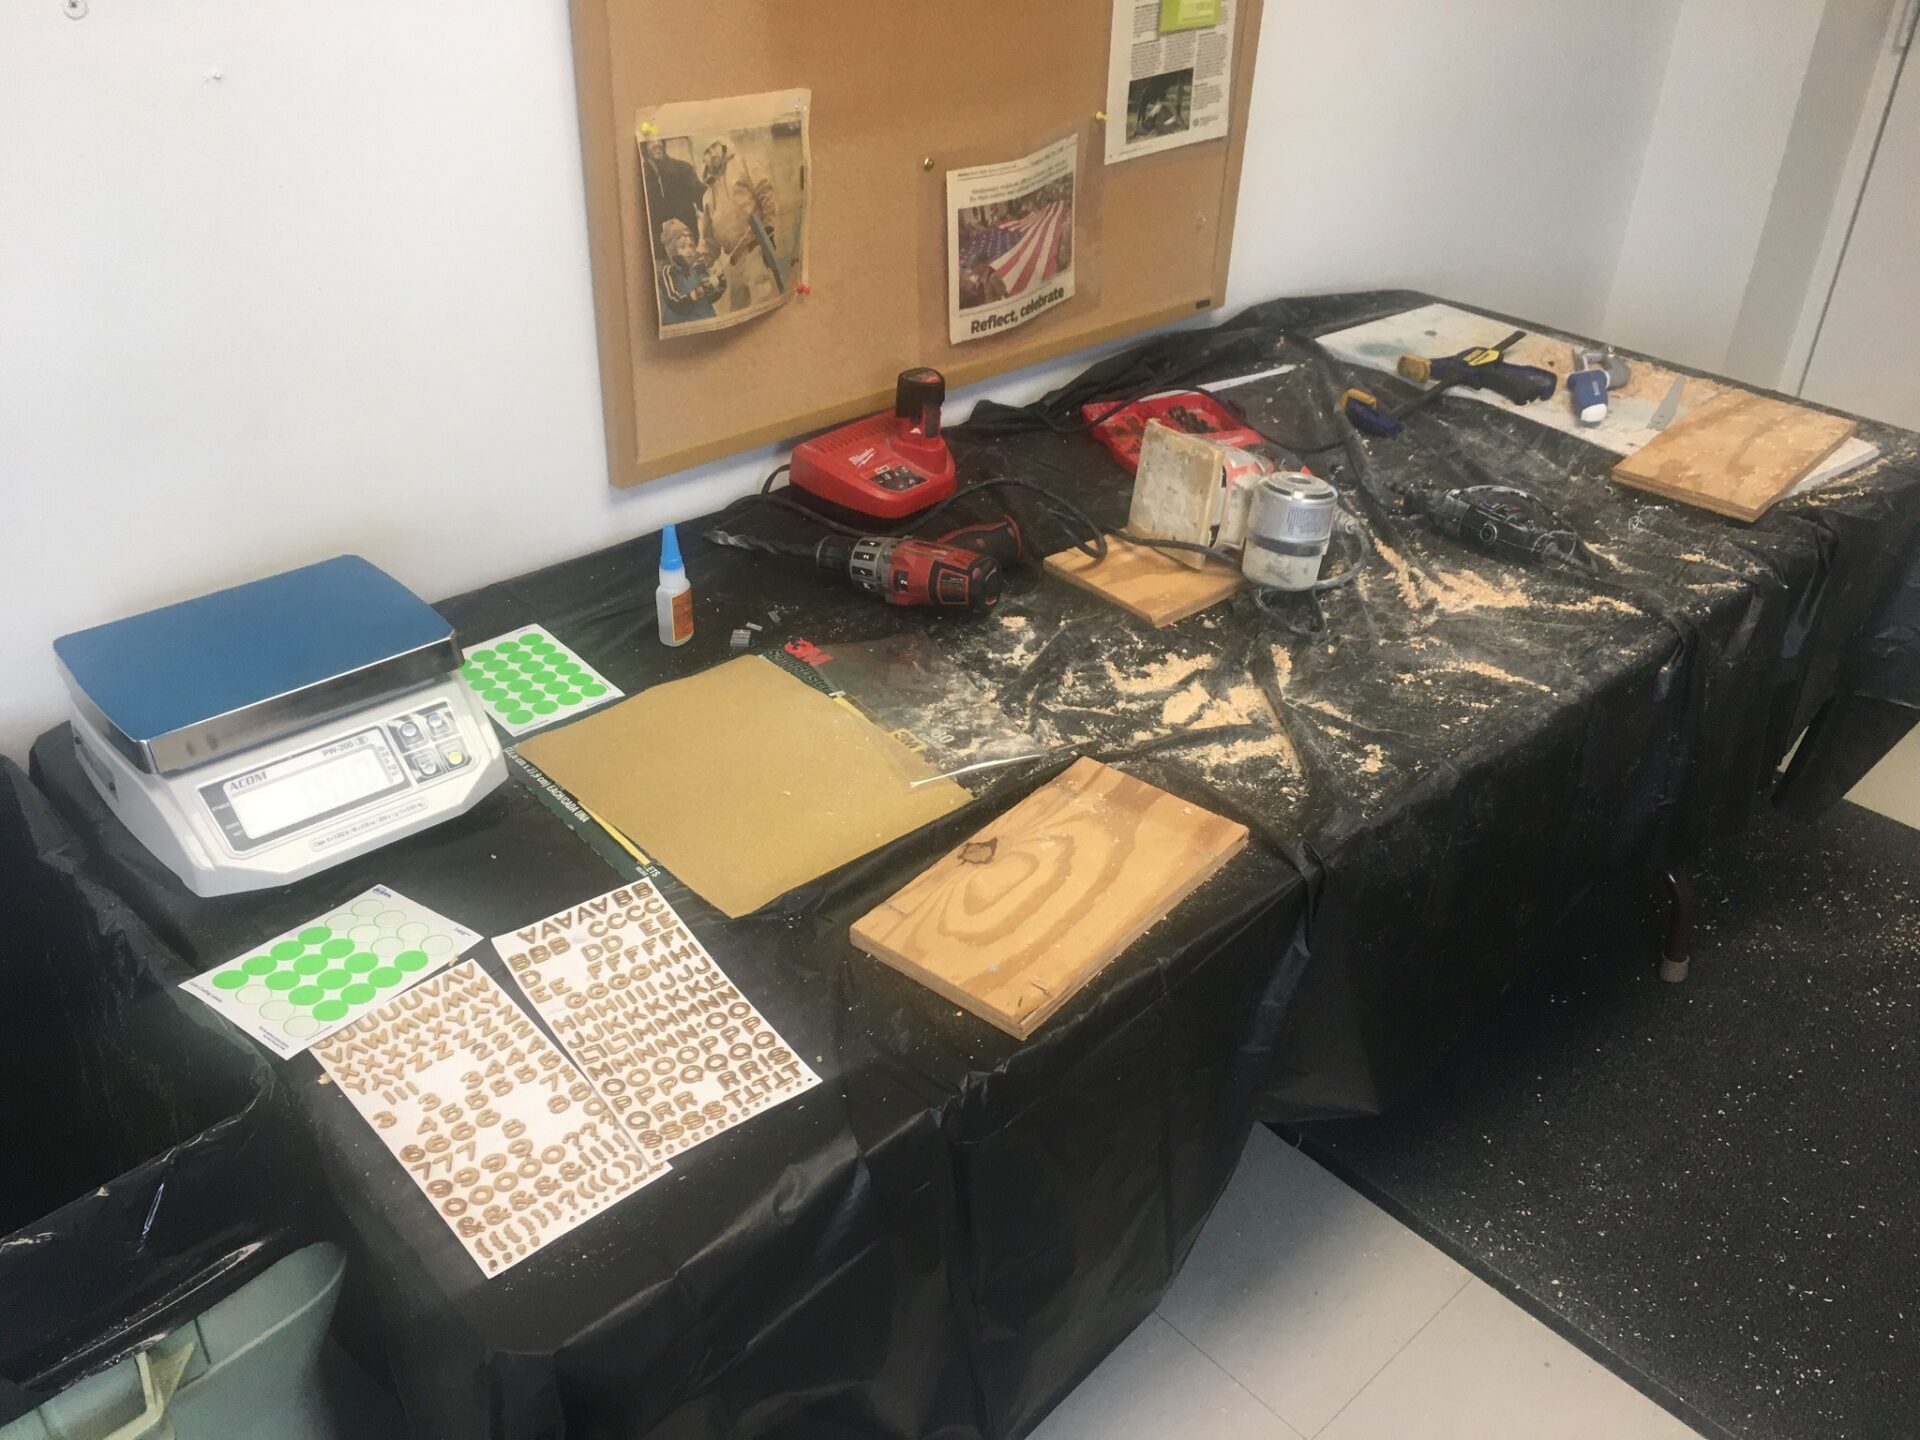
I do have to preface this with… me and saws, yea … we don’t get along. Unless it’s a sawzall. Nothing more liberating than cutting a Ford Bronco in pieces on New Years Eve… >cough<, ahem, but I digress. The running joke in my house is “I’d rather turn wrenches than swing hammers” – that’s just the way I’m programmed. If I have a choice, metal wins over wood every time. That being said, you can probably infer by now that I don’t have a lot of “wood working tools” in my arsenal. I have tools that get the job done – when it comes to household projects – but I’m not about to spin out some table legs for fun.
A quick search of the net led me to kits specifically designed to jump start this process, and Hobby Lobby seemed to be the Mecca of all things balsa-wood. Thankfully they just opened one in the neighboring town, so why not see what they have to offer.
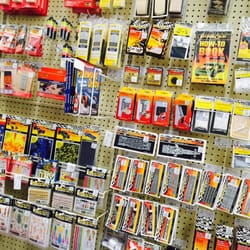
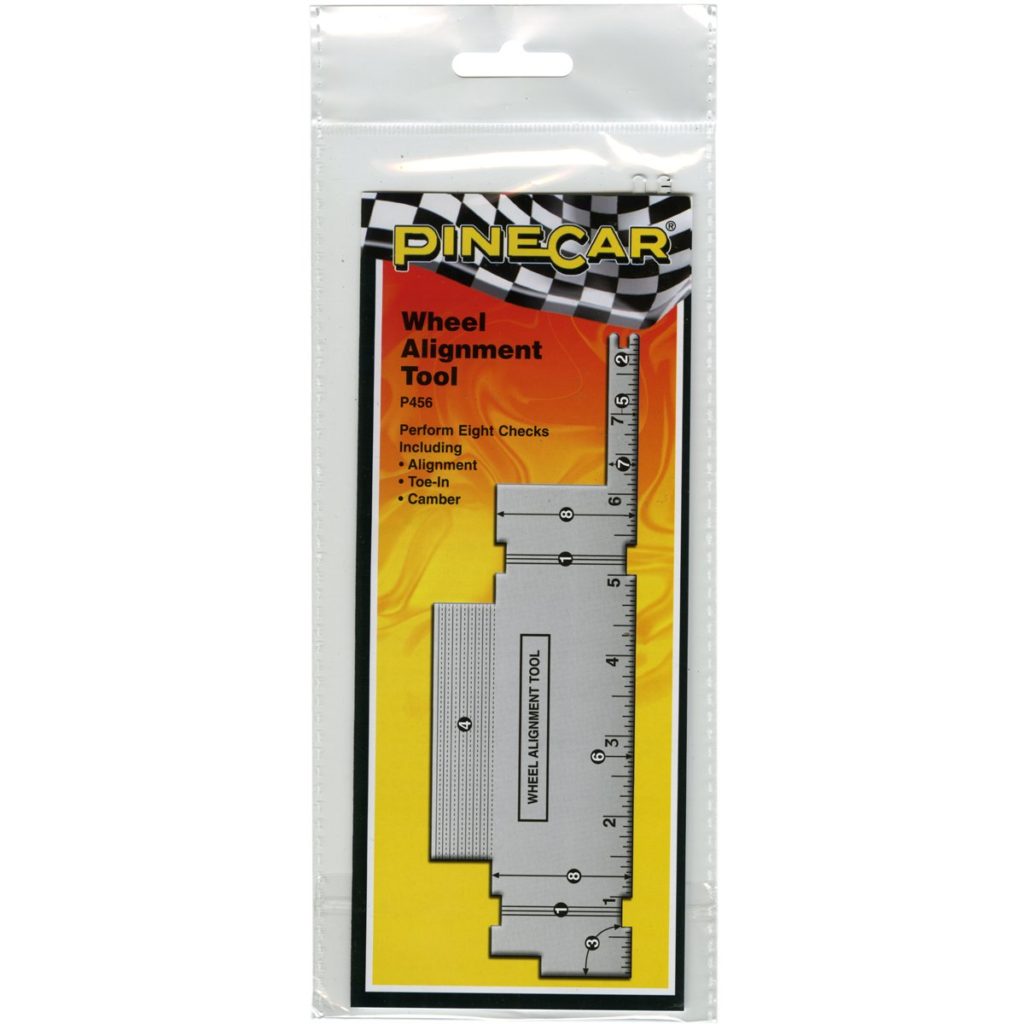
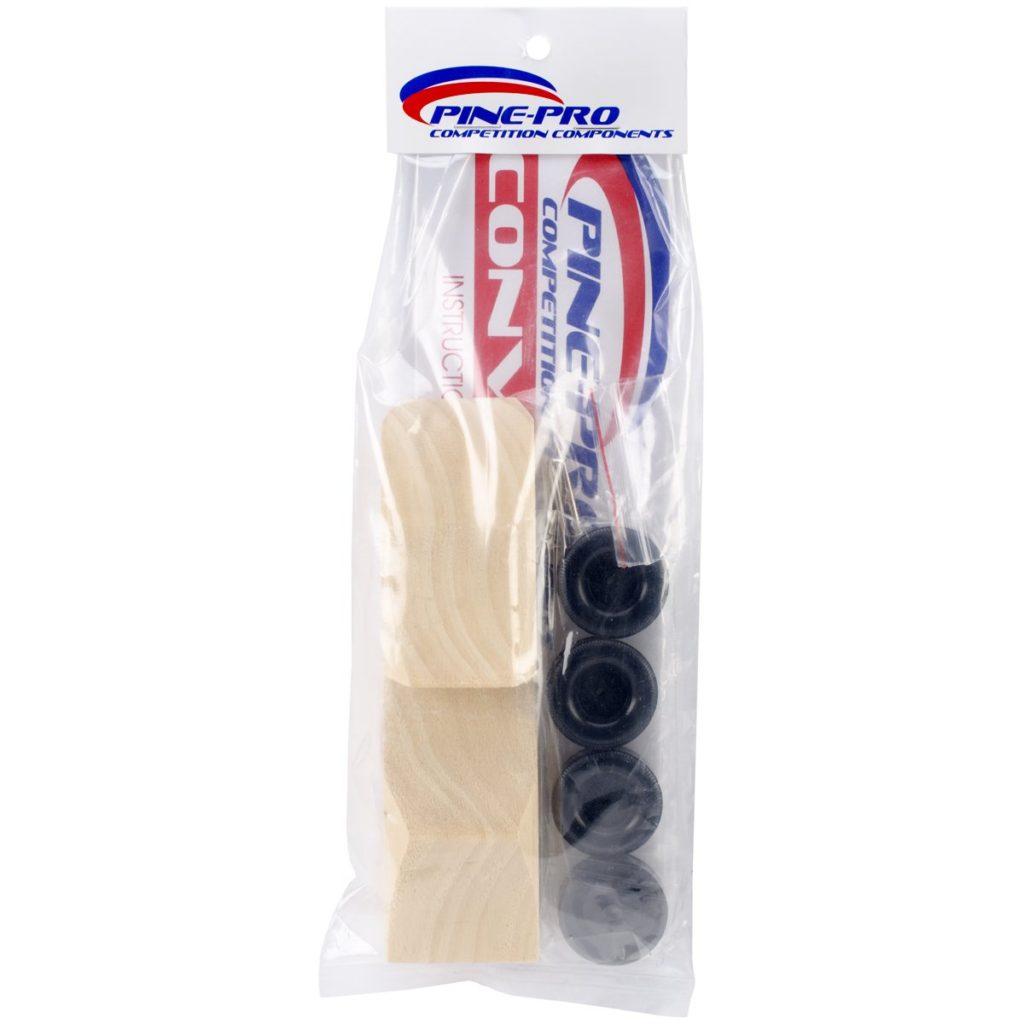
This miniature version of a “speed shop” was eye-opening, just look at all the possibilities… but I started to realize, this pinewood derby could snowball quickly. Alignment Kits? Graphite Dry Lubricant? Cambered Axles? … what is going on here?!? This is some #becauseracecar (-ish) stuff. And naturally I had to buy some parts: Decals, wide tire kit, new axles, pre-formed body, etc. AWESOME – How hard can THIS be? Assemble and let my daughter decorate the car. Voila!
Once I got home and showed my wife all the loot, she says to me… “This is all well and good, but did you read the instructions? ” Pssshttttt… Instructions! Wait, what instructions? Then hands me a 6-page set of “rules” akin to something that SCCA would produce for SSM Miatas in the GCR (Global Competition Rules). SIX pages (single-space, 11pt font, mind you) of very specific details, race regulations, and what can/can’t be modified. Unlike other groups, the girl scouts require that the car be formed from the supplied stamped block of wood, wheels and axles. Well… at the very least I could still use the decals.
Oy! Now what? Time’s ticking…
Let’s ask the GTM crew if anyone has experience. An hour or so of dead ends, useless banter and trolling – I was no further along than when I started. The next day at the office, I asked some folks I know that are into wood working some questions. I proceeded to ask them what I felt was a “normal question” … Can I use my bench grinder for this project? Reacting as if I had just put a hex on them… they replied “Yes, but you might find that the wood will rip or burn and not cut the way you want” – now be gone blasphemer! Hmm… let’s confirm with the interwebs. The oracle of all human wisdom, Google, said in fact you can use a grinding wheel, however it required either a course grind or aluminum oxide wheel to not completely damage the wood. Driving all over town, I did eventually find the wheel I needed – at Tractor Supply.
Jumping ahead in the story, the thought that kept lingering in the back of my mind – no thanks to a comment planted there by my wife – “everyone is looking to beat you, being a car guy, they think you have an advantage” – great. So that got me thinking, is this really about me versus the other parents?
Nah, this is a teaching moment for me and an opportunity to expose my (5 year old) daughter to the world of racing. Not going to lie, it was tough keeping her attention throughout the process. She very much enjoyed all the safety gear and being a clever kid puts on the glasses, mask, gloves, and says to me “Dad, do you always play dress up while working on your cars?” (sigh).

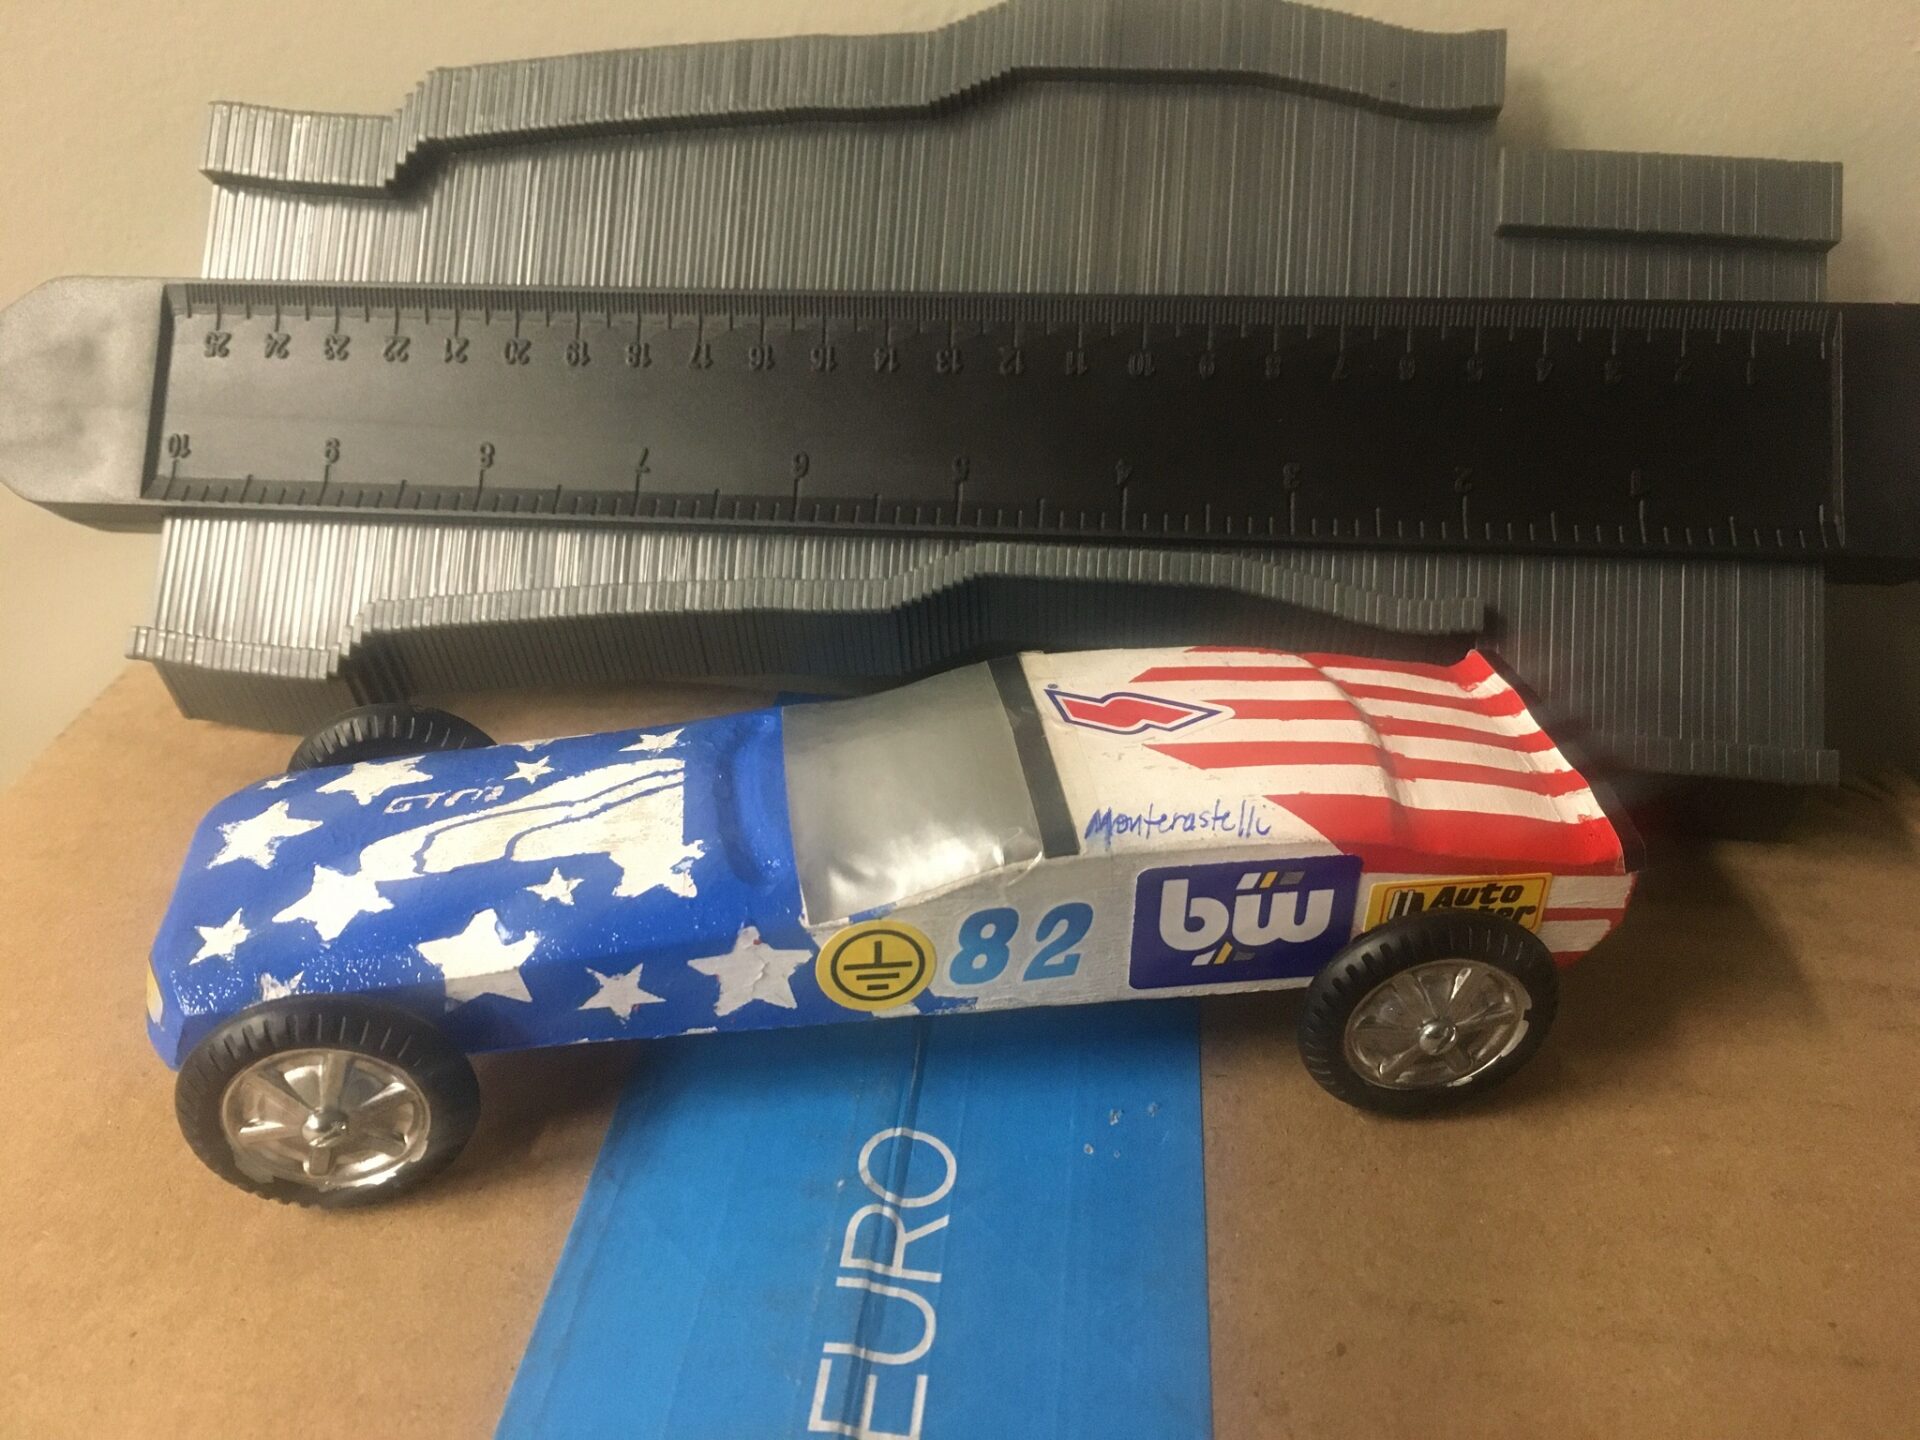
With the bench grinder, roughing out the Corvette inspired shape my chief designer wanted didn’t take long. But carving away that much wood meant we were severely underweight. In order to share this experience and not just work in silence, the next hurdle was trying to water-down and communicate race car physics, so my daughter could understand what was going on. Which also let me justify why we were adding left over Volkswagen CV bolts to the back of the car for better weight distribution, balance and “more momentum.” Adding these bolts brought our overall weight to 4.4 oz out of the maximum 5 permitted. In retrospect, I should have added some more weight forward/aft of the rear axle dowel #lookslikearocket #twinexhaust.
We spent the rest of the afternoon prepping the body for paint using a combination of sandpaper and the Dremel. I asked my daughter if she had a specific color scheme in mind. Assuming it was going to be pink/purple and involving unicorns, I was hoping I could convince her to go with an Alitalia rally livery or better still, a Team Corvette theme. I was rather impressed when it turned out to be none-of-the-above. She confidently said to me “I want it to look like an American flag!” – Any reason why? – “well, I want it to show how proud I am to be an American” … pulls on the heart strings a little, no?
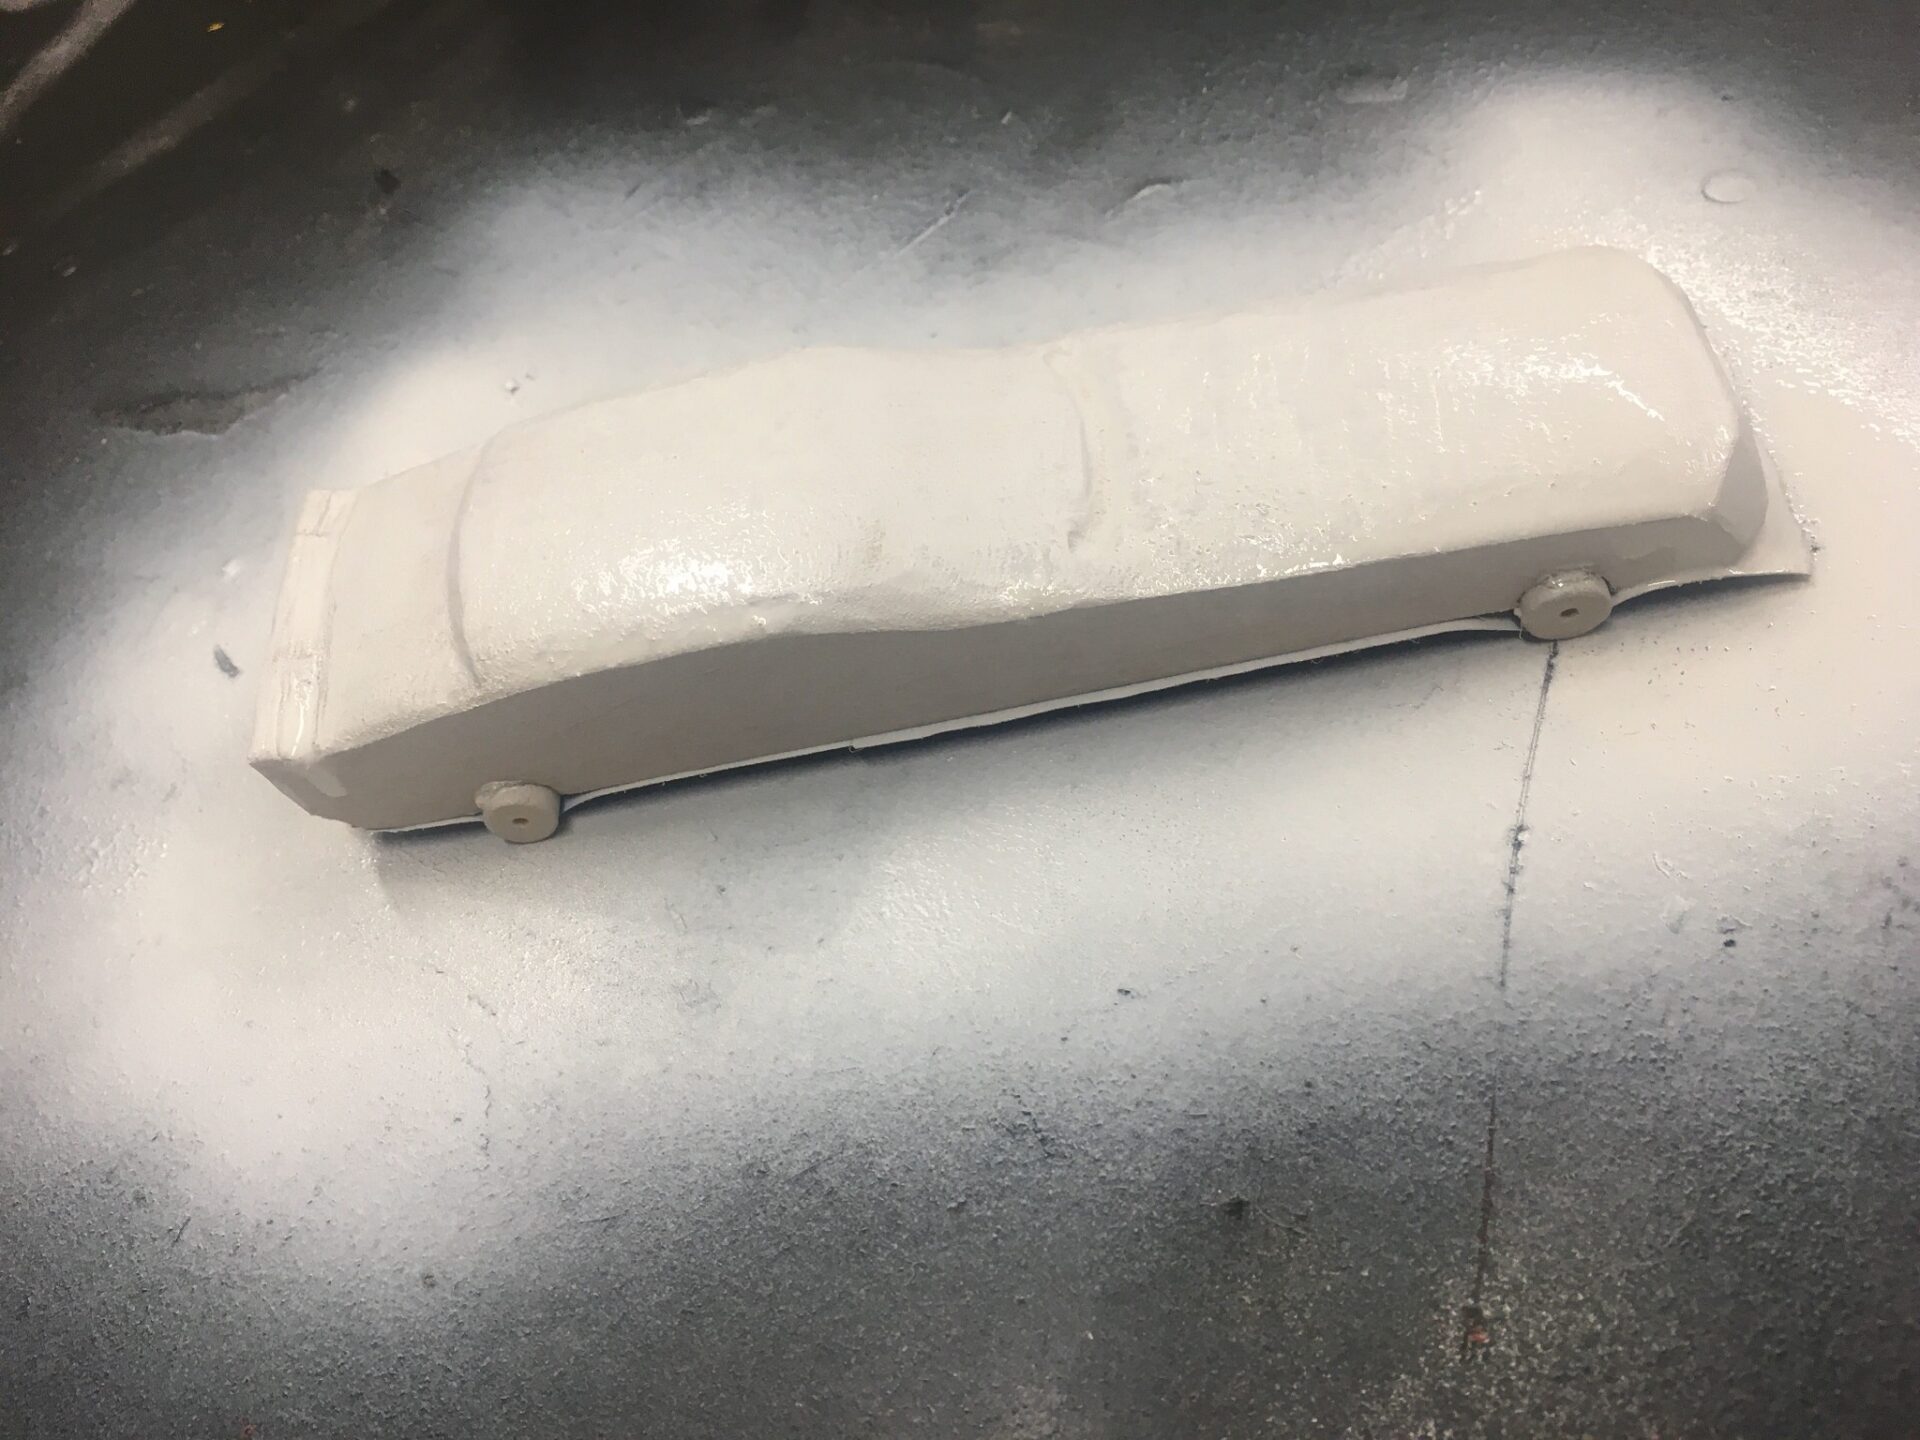
Overall the paint came out “just ok” (not our best work). As I mentioned earlier, I don’t have much in the way of wood related tools and supplies, and the same goes for paints. The base coat was VHT white header paint, followed by lots of taping/masking and stickering to make the stars and bars using different types of Rustoleum. Thankfully pine absorbs pretty well or we’d still be waiting for it to dry. Using left over Oracal vinyl from the Wagon #restomod project and whatever small racing stickers we could find and the car was done (just in time). #carnumber82
Race Day
There’s a sense of nervousness that washes over you no matter the size or type of competition, we all go through it. We started off the day like we were going to the track. And outside of the required troop smock, my daughter and I even wore our “track outfits” right down to my infamous mismatched shoes. Why? because racers are a superstitious bunch, so why not? #represent.
Like I said before, I’ve never participated in an event like this, so I didn’t know what to expect once we got to the race. I found that it became all too familiar, very quickly. The first line was for “registration” where all the vehicle/driver details were confirmed and initial weigh-in was done. Just to the right of that table, was an area where people were allowed to make modifications on-site with the available tools “in the paddock.” We thought one team was in deep trouble when the belt sander had to come out to make weight. #roadhuggingweight
Luckily our baking scale at home matched the “official scales” at the derby and we came in at 4.4 oz. With our “tech sheet” in hand, we got in the next line to get our car tested to make sure it was within the rules and would be allowed to compete. Tech required another, more accurate, weigh-in (we weighed 4.38 oz to be exact) and placement of the car in a jig that was designed to measure the length, width, height, wheel spacing, wheel base and the ride height of the vehicle. Last was a visual inspection and once the car passed it was handed off and “impounded on the grid.” There was a steward there to ensure the vehicles were not tampered with after tech was completed. I spent some time with my daughter explaining the process, and comparing it to an actual race weekend where she’s been witness to this type of process “on the big cars” many times.
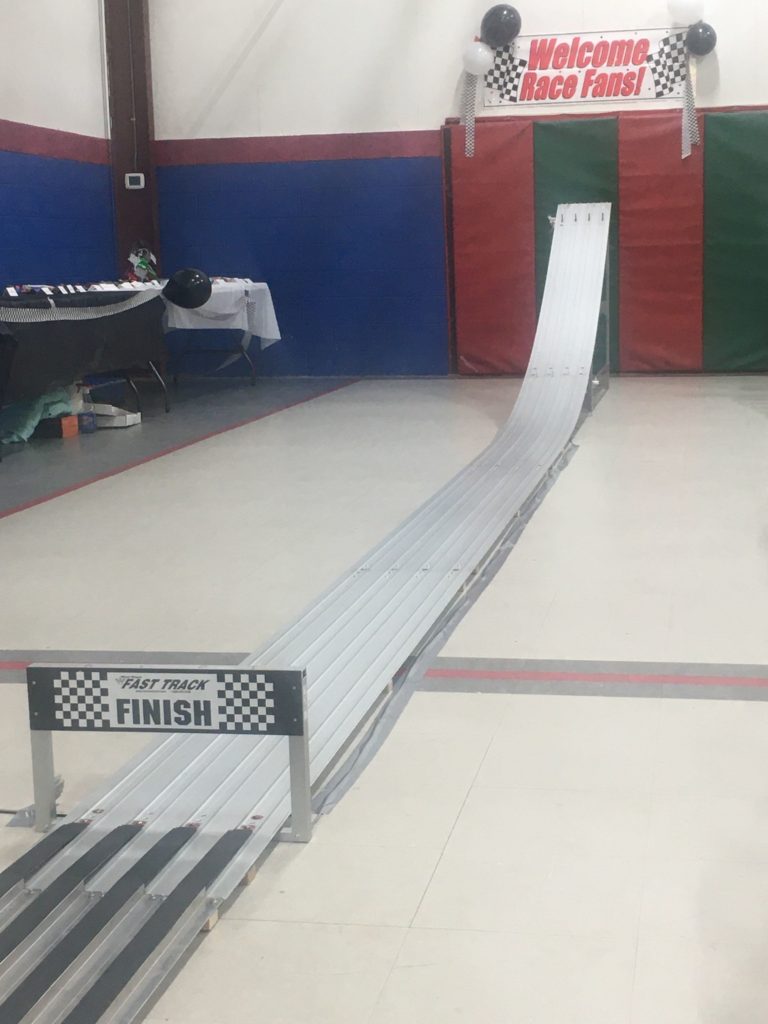
The typical (regulation) pinewood derby track is a 32-foot long aluminum 4-lane drag race! The cars must have a “flat nose” allowing them to rest on a pin (seen above right); which is dropped by turning a lever. Once the cars are released they ride down the grooved rails and gravity takes over. “Its all about weight and wheels at that point” one father repeated after each start.
We“walked the course” and noted that this was serious business because a big screen, laptops and timing devices were involved. Pre-race chats with the other parents consisted of build techniques, issues, overly complicated setups and a couple heaping handfuls of boasting and BS. Not much different that a normal race weekend. But when the flag drops, the BS stops…
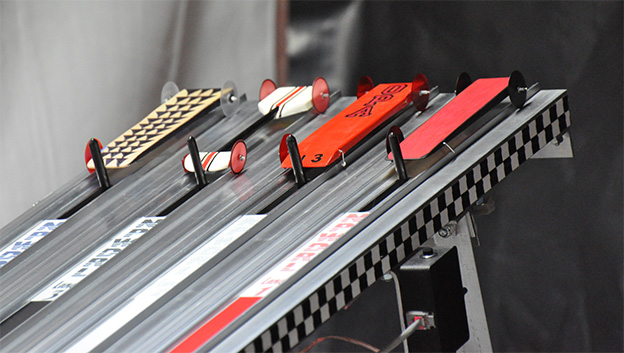
Using a similar format to drag racing, each heat consisted of 4 passes (each car runs 1 time in each lane). Times/speeds are then averaged for a “best of” result and the winners from every heat progress to the next, and so on, through the brackets. The fastest cars were pushing times ~2.5 seconds with a (relative/calculated) top speed 185+ mph. Our car, as you can see from the video, quick off the line, and when we hit the flat section began to slow down quite a bit. Our average top speed was just under 140 mph, which meant we were 40+ mph behind the leaders in the troop.
Grrr… All that prep, all the time… I wasn’t upset, okay, maybe a little – but not trying to show it. As a consolation we did come in 2nd place in our heat and weren’t the slowest car by any stretch. But something amazing did happened… My daughter turns to me at the end of the session – completely unprovoked – and says “Dad, it’s OK, I’m really happy we did this and I’m excited for the winners. Thank you.” #heartstrings – And that’s all that matters.
#theresalwaysnextseason #rebuildingyear #biggerbetterfaster.